


Bolt Function and Headspacing on the Summit Rifle
Before We Begin
Warning!
- Always make sure the firearm is unloaded before performing any work it!
- Remove all ammunition from the work area before working on any firearms.
- Always wear safety glasses when performing any work on a firearm.
Related Products
Video Instructions
When building a custom Summit how do you know if the closing of the bolt is too tight or too loose and do you need to adjust the headspacing? Kolby Pavlock answers these questions and more!
Tools Needed
- 5/32" Allen wrench
- 1/8" Allen wrench
- Heat gun or hair dryer
- 0.04mm feeler gauge
- A clean, non-slip surface, such as our Cleaning Mat
Assembly
Step 1
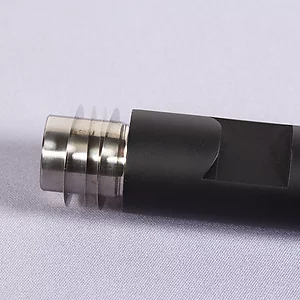
Setting proper bolt lockup is critical to the function and safety of the Summit Action. Start by placing four shims over the shank of the barrel in preparation for inserting it into the receiver.
Insert the barrel into the receiver. If the barrel is too tight, heat the receiver with the heat gun then insert the barrel into the receiver.
Our barrels shanks are slightly larger than most other barrels. This ensures a tight fit and the best possible accuracy. Heating the receiver opens up the bore and gives the barrel adequate clearance to be installed.

Step 2
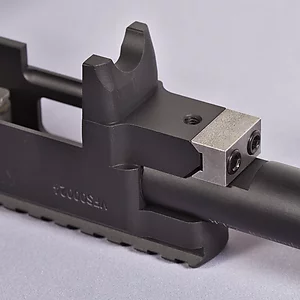
Once the barrel is fully seated, verify that the locking cut on the barrel is aligned with the angled lug on the receiver.
Step 3
Use the 12-24 screws and V-Locking Block to secure the barrel to the receiver. Be sure that the V-Locking Block is flush with the receiver and not tilted to once side or the other.
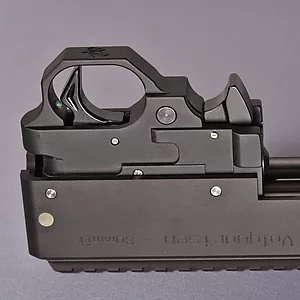
Once assembled, lockup can be checked with a 0.04mm feeler gauge. Place the feeler gauge against the chamber end of the barrel and close the bolt. If the lockup is correct, the bolt should close with only slight resistance.
If no resistance is experienced, disassemble and remove a shim. If excessive resistance is experienced, disassemble and add an additional shim.
Step 4
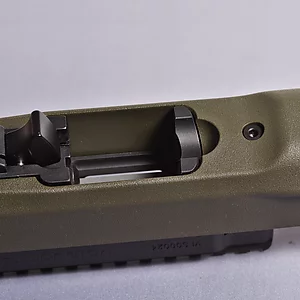
Insert the trigger group into the receiver and install pins to hold it in place.
Step 5
Install the barreled action in the stock, being careful to ensure that the pins holding the trigger group do not fall out.
You may need to press the safety selector into a middle position, between safe and fire, in order for the trigger group to fit through the stock.
Once the receiver is fully seated, insert the take-down action screw and secure with a 1/8" Allen wrench.
